Welcome to the Introduction lesson which includes a video to share what is includes in your kit & a walk through the album!
I know some of you have received your kit all over the world. If you have not received yours please be patient as some post offices take longer than others.
Four 3"x5" photos. Some may be cut down a little bit on the edges.
Two 5"x7"
Vertical:
One 2"x3"
SUPPLIES NEEDED:
Here's what I would suggest if you did not purchase a kit & are using the supplies you have on hand.
A 6"x8" mini album. You could easily put together your own even just by cutting chipboard for the front and back covers. Then mix in pages from albums you haven't used yet in your stash. (Mine is a mix of chipboard pages, canvas page, acrylic page & envelopes.)
A few coordinating patterned papers
A coordinating color of cardstock for cover/back of album and inside album.
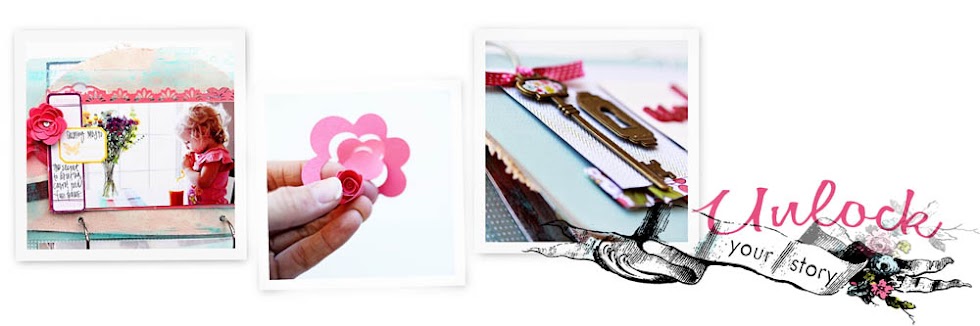
Alphabet stickers (medium & tiny.) Refer to cover of album pictured below.
2 Envelopes. I used vellum A2 size but use whatever fits and coordinates with your album.
2 metal rim tags and one small white tag.
Any coordinating Spray Ink and a flourish diecut or diecut paper to use as a mask for one of your pages in the album. (More on this when the class starts.)
Large flower punch & 2 flowers you can spray with spray ink.
Coordinating ribbons
One pin
Journaling Stickers
2 tags for the cover of book and inside (The tag should fit on the cover of your album. Refer to picture of cover below.)
These are the exact products that I used in the kit below. Let me know if you have any questions.