 Gather these supplies:
2" circle punch: I used a solid circle & scalloped edge.
2 metal rim tags (2 1/4" diameter)
1 paper tag (2"x 1 1/4")
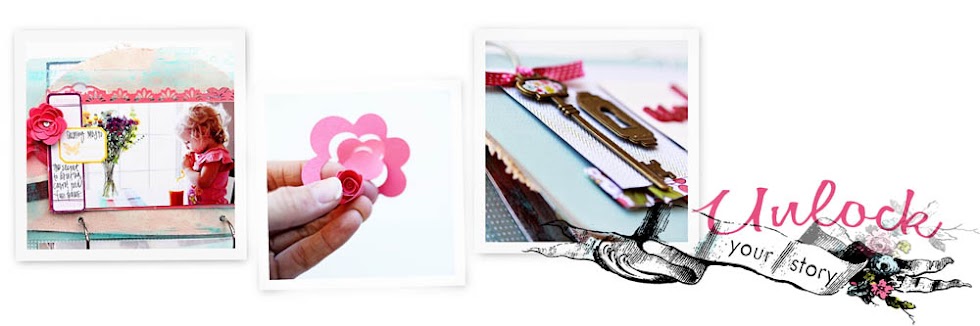
2.5" Punched flower (included in kit)
A couple buttons and bling
Patterned Papers
Ribbons


2 envelopes (A2 size)
Hole punch
(PS I added some light teal and light pink tulle that wasn't included in kit)
ENVELOPE #1
1. Punch two 2" circles from the turquoise patterned paper (Sparkling Season)
2. Attach inside metal rim tag
3. Then layer ribbons, small paper tag, paper flower, tulle (I added in blue or pink), button.
4 Attach to envelope. KEEP IN MIND: Where you will punch the holes to the envelope so you can open it when it's in the album.
OTHER SIDE of envelope #1:
1. Punch a circle from paper. Fold and adhere to flap of envelope.
2. Attach button.
ENVELOPE #2 are the same steps as the first envelope with tag but we will be making the rolled flower in a later lesson.

OTHER SIDE of envelope #2 (Used later in the album but we are designing it now.)
1. Punched circle
2. Add ribbon with staple, button & bling.
INSIDE OF ENVELOPES:
Now we just need to cut the paper for the inside of the envelopes.
1. Cut 6 pieces of the music note paper at 3 3/4" x 5 1/2"
2. Include 3 pieces in each envelope.
3. Optional: Use a ruler and pen to write lines on your paper or just go ahead and write on the papers.
4. Slip into envelope with the music note side seen through the front under tags.
 5. Read over what you wrote yesterday.
 5. Read over what you wrote yesterday.
 Edit it by adding to what you wrote if you now remember more details or take away anything that isn't needed.
Collect those thoughts and include what you want on the back of the music note papers.

Remember, we will make this rolled flower in a later lesson.

This one below is using different ribbons but the same idea.


Really cute Lizzy.
ReplyDeleteI cant wait to do it tonite.
It is so gorgeous! I am loving making this!
ReplyDeleteFun, can't wait till later to dive into my project again.
ReplyDeleteSo cute Lizzy! I went to the post office today and have at list my kit <3<3 (the postman came to my home when I was at workm, snif!) it's all perfect, I can't wait to begin it!
ReplyDeleteI am hoping to decorate my envelopes tomorrow after having cleaned the house. Can't wait to get started.
ReplyDeleteAll done! I'm so happy with the envelopes and also that there is so much space for journalling :)
ReplyDeletestill eagerly awaiting my kit but love seeing what is next every day. I am spending my time (while waiting for my kit) journalling and more journalling. So I appreciating the wait time. Its a blessing so I can spend more time of my writing.
ReplyDeletelove me :-)
all done!can't wait to learn how to do that flower :)
ReplyDeleteThis are beautiful! I'm already behind but so inspired to get started. The jouranling is done--and that is a huge part--so I'm happy about that. :)
ReplyDeleteI love love love love those envelopes!
ReplyDeleteOff to make them!!! Thanks Liz for all these wonderful things you show us!!
I love the idea of the envelopes. Great way to decorate it up and stash away the journaling.
ReplyDeleteOne question... I have yet to find a good pen to write with that doesn't smudge or bleed on surfaces like glossy stickers. Any recommendations?
ReplyDeletewhen do we punch the holes in the pages? I am worried , I am sure my clear page is below the punch lines
ReplyDeleteslick writer from American Crafts doesn't smear on glossy stickers...
ReplyDeleteYou can punch the holes in the pages whenever you are ready. I will be sharing the measurements of how to do that if you want to wait.
ReplyDeletethanks!