From 10-10 movies3
Page 4: (Acrylic page) - Start of by using your beautiful blue paint to add a slight wash of color to your page.
- Cut a 4"x6" piece of blue cardstock. Border punch the bottom 6". Add a 4"x3" photo to the left of the cardstock and attach to the center of acrylic page. Add a diecut brocade pattern circle punched to the bottom right of the cardstock.
- Adhere a ticket to the right of the photo and cardstock.
- Adhere 3 buttons with glue dots.
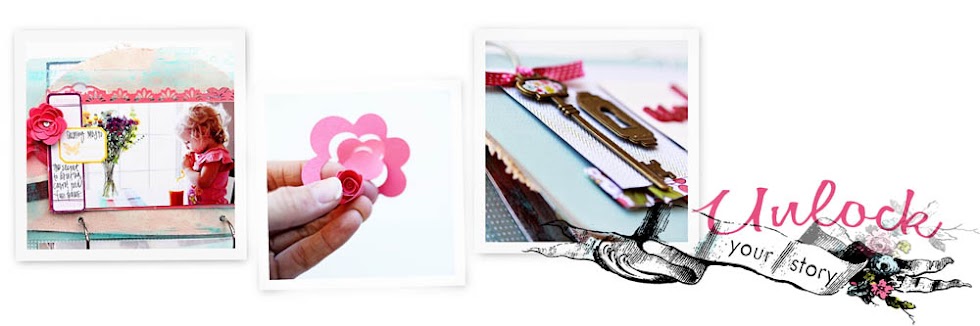
(Back of acrylic page) - Take out your diecut flower from magenta cardstock. We are now going to make rolled flowers. You do this by holding the outside end. Start rolling up the flower towards you and keep rolling until you get to the circle end. Now you can loosen the rolled paper to your liking and attach a glue dot to the back of the rolled flower and set on circle center.
- Last, attach to the left of ticket & the metal rim tag of your envelope.
- Add a photo to the right side of cardstock that is showing through from page 4.
- Adhere 2 journaling sticker tickets to the left side of photo and onto cardstock. Add a rolled flower and journaling.
|
So cute!!!, i made my envelopes,but this for the weekend better, I need to chose really good what photo im going to use in the acrilyc page.
ReplyDeleteThanks Lizzy!!!
I loved learning to make flowers.
ReplyDeleteThanks Liz!
love it..thanks so much Liz..you are so amazing!
ReplyDeleteCan't wait to get started. :)
LOVE the flowers. What die cut did you use for our kits?
ReplyDeleteThe rolled flowers were fun to make, I had never made them before. They turn out quite as good as yours (I definitely need some practice!) but love the look ;)
ReplyDeleteEverythings works well, thanks for the other video method for us in Germany! We can watch the videos!!!
ReplyDeleteSteffi
Hi Liz,
ReplyDeleteI cant seem to be able to view the new movie
Cheers Deanne
Lizzy, one question, ¿do we punch the holes to the evelopes or wait untill finish the album?
ReplyDelete(I hope you understand me jeje)
THanks
How deep approx is your flower after flatting it? My first one totally broke apart and although the second one(smaller) worked out better, it still seems very dimensional after trying to flatten it.
ReplyDeleteThanks, -Claudia
Hi Liz,
ReplyDeleteI can't view the video today either..I did manage to view it the other day..will try again later.
Suz
can you see it now? Otherwise I posted it on youtube as well:
ReplyDeletehttp://www.youtube.com/watch?v=b11TNDpiuN8
I'm not sure what happened but there are 2 ways to watch it so let me know if that works for you. Thanks!
Claudia,
ReplyDeleteThe flower does still have a bit of dimension. It's difficult to say how deep the flower is because everyones will be different.
Sorry your flower broke ... would you like us to send you another one?
This comment has been removed by the author.
ReplyDeleteSilsine,
ReplyDeleteYou can punch the holes now. You don't need to wait until after the album is finished. But if you hold off just a bit I will tell you the exact measurements of how I punched mine.
thanks!
yep it works now..not sure what happened:?
ReplyDeleteThanks Liz x